Your Ultimate Guide to Professional Concrete Leveling
Professional concrete leveling is a skilled process that corrects uneven surfaces. It enhances safety, aesthetics, and hikes property values. The process uses specialized tools and involves drilling holes, then pumping a mixture under the slabs. Not every job is suited for DIY since it requires specific know-how and equipment. Techniques like slabjacking or polyurethane foam jacking are used, depending on your project's size and budget. Remember, it's more preventative maintenance than a solution to significant structural issues. Dive deeper into this guide, and you'll get a step-by-step rundown and savvy tips to perfect this skill.
Understanding Concrete Leveling Basics
Before diving into the details, it's crucial for you to grasp the basic concept of concrete leveling, a cost-effective and efficient method used to correct uneven concrete surfaces. It's your go-to solution when you're dealing with cracked, sunken, or uneven concrete.
Now, you might be wondering, how does it work? It's not as complicated as you might think. The process involves drilling holes into the concrete slab, then a special mixture, often made of cement, sand, and other additives, is pumped into these holes. This mixture helps to raise the concrete back to its original level, making it even and safe.
One key point to remember is that concrete leveling isn't a DIY project. It requires professional skills and specialized equipment. So, while it's good to understand the process, don't attempt to do it yourself. Instead, hire a trained professional who knows what they're doing.
Also, bear in mind that concrete leveling isn't a fix for all concrete issues. It's designed to address surface irregularities, not deep structural problems. If you have serious structural concerns, you'll need more than just concrete leveling. But for regular surface issues, it's a real game-changer.
Concrete Leveling: Why Its Essential
Now that you've got a handle on the basics of concrete leveling, let's explore why it's such a vital process for maintaining safe and even concrete surfaces.
Concrete leveling is essential for several reasons. First off, it's all about safety. Uneven concrete surfaces can pose a significant tripping hazard, especially in high traffic areas. Whether it's your home's driveway or a commercial parking lot, a leveled surface ensures safe movement for everyone.
Secondly, it's a matter of aesthetics. Uneven concrete isn't only dangerous but also unsightly. It can detract from your property's value and curb appeal. By leveling your concrete, you're making a worthwhile investment in the appearance of your home or business.
Lastly, concrete leveling is a key preventative measure. Over time, concrete can sink or shift due to ground movement, drainage issues, or foundation problems. Regular concrete leveling can prevent these issues from escalating into costly repairs or replacements. In essence, it's a maintenance task that pays off in the long run.
Different Techniques in Concrete Leveling
Let's dive into the various techniques utilized in concrete leveling, each with its unique approach and benefits. Understanding these methods will guide you in selecting the most suitable one for your project.
Firstly, there's the slabjacking technique. This involves pumping a mixture of cement, sand, and other additives under your concrete slabs to raise them to the desired level. It's a quick and cost-effective way to repair small scale uneven concrete, like your driveway or sidewalk.
Then, there's the more advanced technique known as polyurethane foam jacking, or foam leveling. This method uses a high-density foam injected under the slabs, which then expands, lifting the concrete. It's more expensive than slabjacking, but offers a long-lasting solution and is perfect for larger scale projects, like warehouses or parking lots.
Finally, there's mudjacking, which involves pumping a slurry of water, dirt, and cement beneath the concrete. This method is less common due to its messiness and the risk of additional cracking.
In the end, the technique you choose will depend on your unique needs, budget, and the scale of your project.
Essential Tools for Concrete Leveling
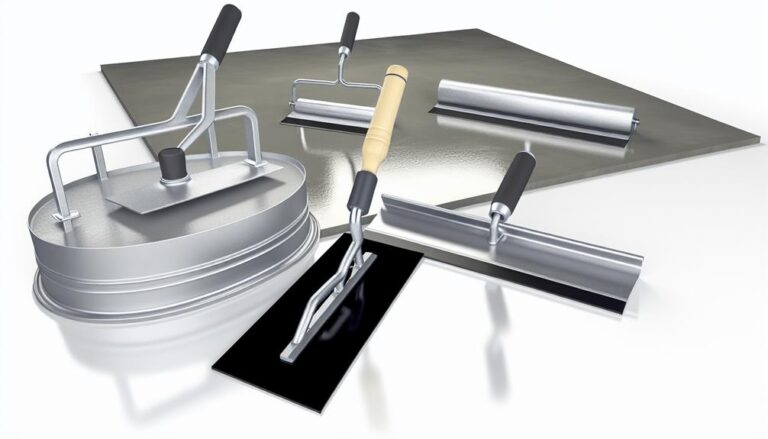
Equipping yourself with the right tools is a crucial step in the process of concrete leveling. You'll need a range of equipment to ensure a smooth, level, and long-lasting concrete surface. Some of these tools may already be in your toolbox, while others might need to be purchased or rented.
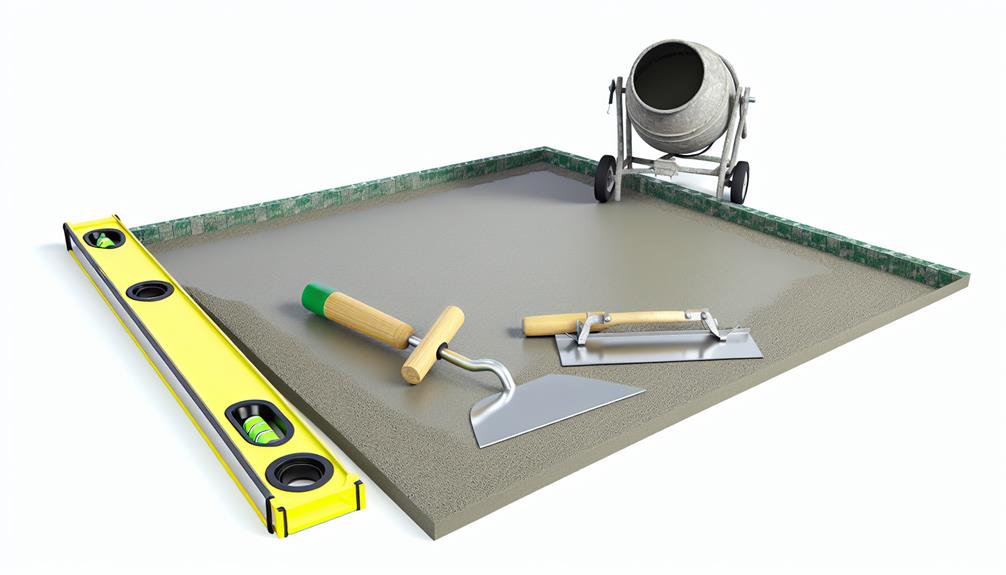
To help you out, here's a quick rundown of the essential tools you'll need, presented in a handy table:
| Tool | Description | Use |
|---|---|---|
| Concrete Leveler | A self-leveling compound that can correct uneven concrete surfaces. | Fills in low spots in the concrete. |
| Long Handle Squeegee | Used to evenly spread the concrete leveler. | Ensures a smooth and level application. |
| Trowel | A flat-bladed tool used for smoothing concrete. | Provides a finished look to the concrete. |
| Concrete Float | A tool that helps bring the fine particles of cement to the surface. | Creates a smooth, hard, and level surface. |
| Mixing Drill | A powerful drill used to mix the concrete leveler. | Ensures a consistent and smooth mix. |
Step-by-Step Guide to Professional Concrete Leveling
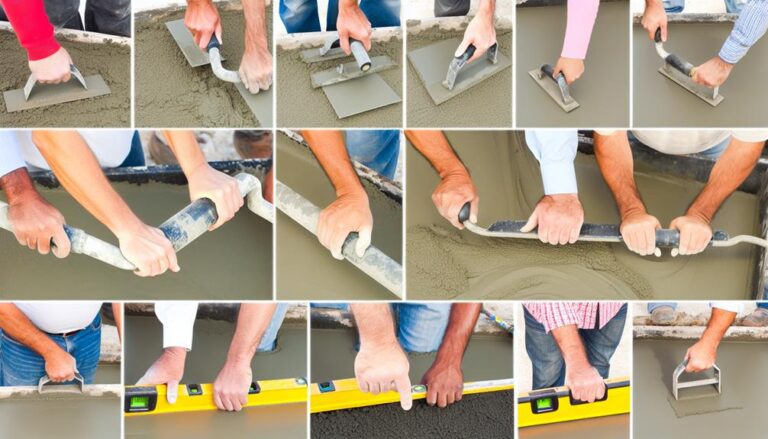
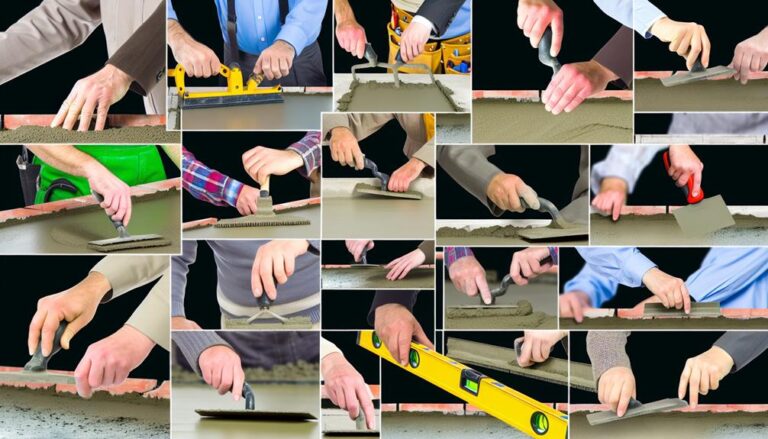
Once you've gathered all the necessary tools, it's time to dive right into the step-by-step process of professional concrete leveling. You'll start by examining the area that needs leveling. It's important to identify all the low spots and dips, marking them for reference.
Next, you'll prepare the area. That means removing any loose debris or obstacles that could interfere with the process. After that, it's time to mix the concrete leveler. This should be done according to the manufacturer's instructions, ensuring you achieve the right consistency.
Then, you pour the mixture into the marked spots, filling each one until it's level with the surrounding concrete. You'll use your trowel to smooth it out, blending it seamlessly with the existing surface.
Once the leveler has been applied, you'll need to let it dry. The drying time can vary depending on the product used and the weather conditions, but it's crucial not to rush this step. When it's fully dried, you'll seal the area to protect it from future damage.
How to Choose the Right Concrete Leveling Equipment
Choosing the right concrete leveling equipment is a pivotal step in ensuring a smooth and successful process. Whether you're a seasoned professional or a DIY enthusiast, having the right tools can make or break your project.
Firstly, consider the size and complexity of your project. Smaller, less complicated jobs may require simple hand tools like trowels and floats, while larger projects might necessitate the use of power screeds or laser levels.
Quality is another factor to consider. Cheaply made tools might save you money initially, but they're likely to wear out sooner and may not perform as well. Investing in high-quality equipment from reputable manufacturers will serve you better in the long run.
Lastly, consider the equipment's ease of use. This doesn't just mean how comfortable it's to handle. It also refers to whether it's easy to clean and maintain, as well as how straightforward it's to replace parts if necessary.
Tips and Tricks for Successful Concrete Leveling
Having selected the appropriate tools for your project, let's now explore some helpful tips and tricks that can make your concrete leveling work more efficient and successful.
First, always ensure your work area is clean before starting. Debris or loose materials can interfere with the leveling process, causing uneven results.
Second, remember to properly mix your concrete. A good consistency is crucial – it should be pourable but not too runny or thick.
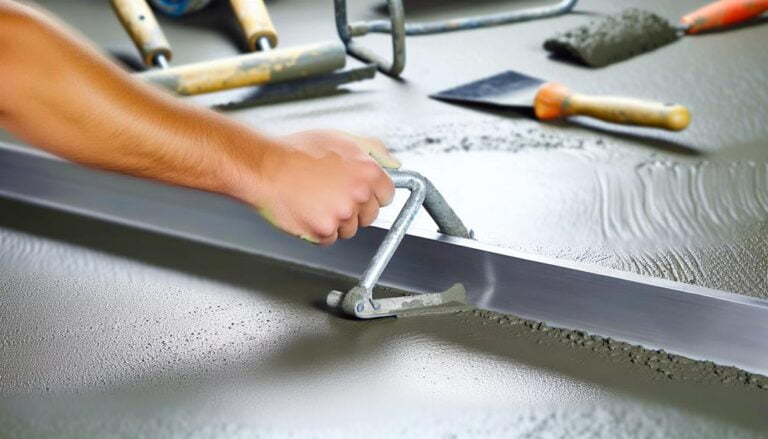
Next, don't rush the leveling process. It's not a race. Take your time to spread the concrete evenly, using a screed board for the best results. After leveling, use a float to smooth the surface. This gives the concrete a professional-looking finish.
Use control joints to prevent concrete from cracking as it dries and shrinks. These joints should be spaced out at intervals equal to 2-3 times the slab thickness in feet.
Lastly, keep an eye on the weather. Concrete sets best in mild, dry conditions.
Frequently Asked Questions
What Are the Costs Associated With Professional Concrete Leveling?
You're probably wondering about the costs of professional concrete leveling. It's not as simple as a flat rate. The price can vary based on factors such as the size of the area, the extent of the damage, and the method used.
Typically, you can expect to pay between $500 to $1300. Remember, it's crucial to get a detailed quote from your contractor to understand all the costs involved.
How Long Does the Process of Concrete Leveling Usually Take?
Remember how long it took to watch paint dry as a kid? It's not quite that long. Professional concrete leveling usually takes a few hours to a day, depending on the size of the area.
You'll need to factor in some drying time, though. It's best to stay off the fresh work for about a day to ensure it's completely dry.
Can I Perform Concrete Leveling Myself, or Do I Need a Professional?
While it's possible to attempt concrete leveling yourself, it's not recommended unless you've got experience in this area. The process requires precision and specialized tools. Messing it up could lead to costly damage.
It's best to hire a professional who's trained to handle such tasks. They'll ensure the job's done right, saving you time, potential risk, and possibly even money in the long run.
What Are the Potential Consequences of Not Leveling Concrete Properly?
If you don't level concrete properly, you're in for some serious issues. You might face structural problems, water damage, or trip hazards. Incorrect leveling can also cause aesthetic problems, making your property look uneven and poorly maintained.
In the long run, it's likely to cost you more in repairs and potential liability issues. So, it's best to ensure proper leveling from the start to avoid these potential consequences.
Are There Any Specific Maintenance or Aftercare Procedures Following Concrete Leveling?
Absolutely! Following concrete leveling, you've got the easiest job in the world. Just keep water away from the area for about 24 hours to let it set.
After that, regular sweeping and washing will keep it in top shape. Avoid heavy loads on the new surface for a few days.
It's not rocket science, just simple care to ensure your leveled concrete stays looking perfect for a lifetime.
Conclusion
You may think concrete leveling is a daunting task best left to the pros, but with the right knowledge and tools, it's within your grasp.
This guide has equipped you with the essentials, from understanding the basics to choosing the right equipment.
Remember, practice makes perfect. So, don't shy away from this project; instead, dive in and discover the satisfaction of mastering professional concrete leveling yourself.
It's all about the right preparation, patience, and precision.