3 Best Techniques for DIY Concrete Leveling
Tackling uneven concrete? Try the DIY route with these top 3 techniques. First, screeding adjusts the level of wet concrete using a straight-edged board. Follow up with a bull float to smooth any imperfections left behind. Lastly, troweling gives you an ultra-smooth finish by applying consistent pressure. These methods can turn that uneven surface into a professional-looking pathway, patio, or driveway in no time. But remember, the right tools and patience play a significant role too. You'll discover more about these crucial aspects if you continue.
Understanding Concrete Leveling Basics
First, you need to grasp that concrete leveling is a process used to correct uneven concrete surfaces by altering the foundation that the surface sits upon. It's a common solution for problems like sinking sidewalks, uneven driveways, or cracked patios. You don't have to be a professional contractor to handle this job; it's something you can do yourself with the right knowledge and tools.
Understanding the basics involves knowing the two common methods of concrete leveling: mudjacking and polyurethane foam injection. Mudjacking involves pumping a mixture of water, soil, and cement under the slab to level it. On the other hand, the polyurethane method injects a foam material under the concrete. This foam expands and hardens, lifting the concrete to the desired level.
Keep in mind that concrete leveling isn't just about aesthetics. Uneven concrete can be a safety hazard, causing trips and falls. It can also lead to water pooling and damage to your property. So, understanding the basics of concrete leveling is crucial for maintaining a safe and appealing home. Remember, patience and precision are key in this DIY project.
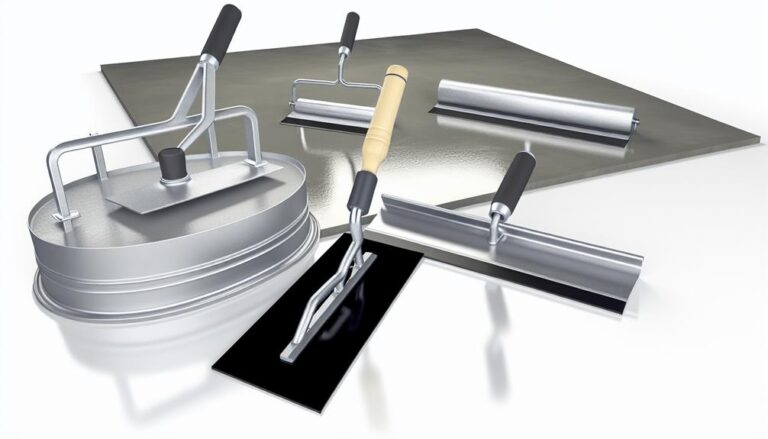
Essential Tools for DIY Concrete Leveling
To tackle concrete leveling on your own, you'll need to arm yourself with some essential tools. These tools don't just make your job easier; they're crucial in ensuring you get a professional-looking finish.
First up, you'll need a quality concrete mixer. You can't expect to mix your concrete by hand and get a smooth, lump-free mix. A concrete mixer allows for a consistent mix and saves you a lot of effort.
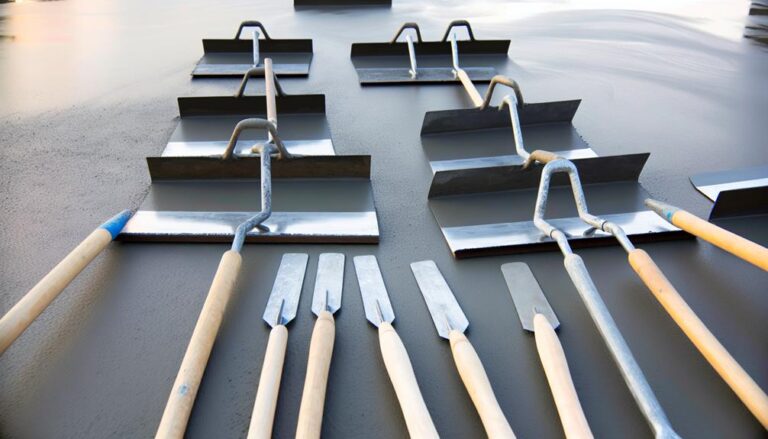
Next on your list should be a good concrete leveling tool. This is a long, flat tool that you'll use to smooth and level the surface of the concrete once it's poured. It's essential for giving your concrete a professional finish.
Lastly, you can't overlook the importance of a concrete float. This tool helps you smooth out the surface of the concrete after it's been leveled, giving it that polished look.
So, here's your essential DIY concrete leveling toolkit:
- A quality concrete mixer
- A reliable concrete leveling tool
- A sturdy concrete float
With these tools in your hands, you're ready to take on any DIY concrete leveling project. Just remember, the right tools can make all the difference in the end result.
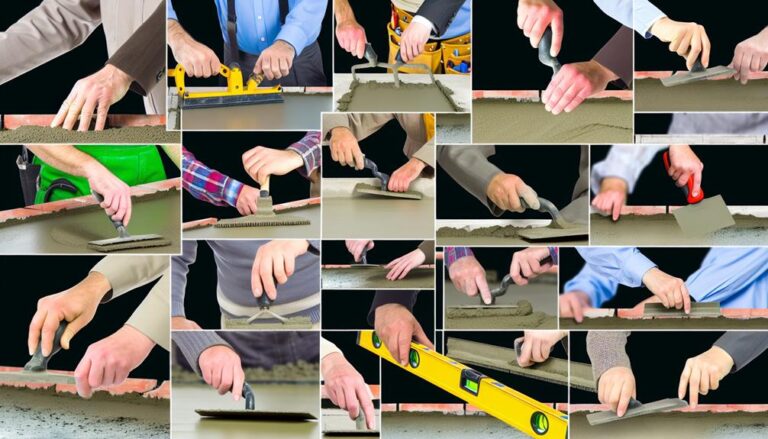
Top DIY Concrete Leveling Techniques
Having got your essential tools ready, let's dive into some of the top DIY concrete leveling techniques that can help you achieve a smooth, professional finish.
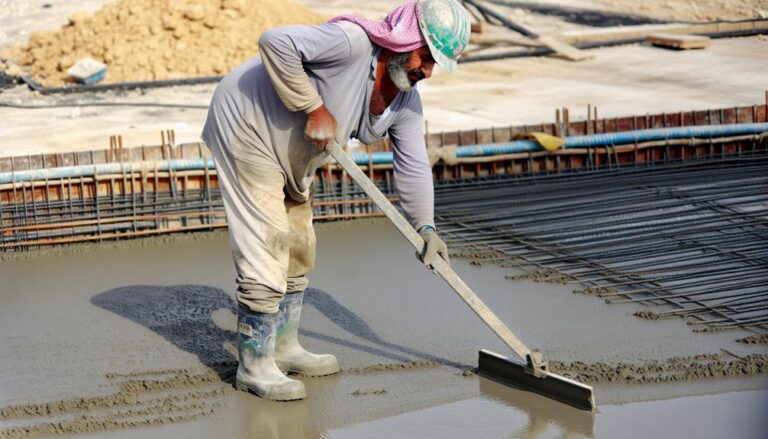
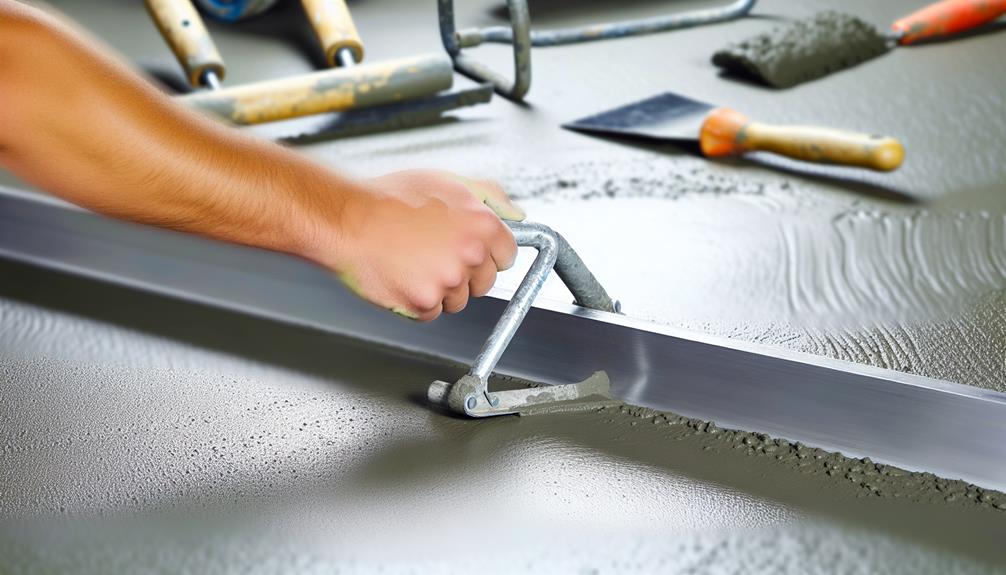
First off, there's the screeding technique. This involves using a straight-edged board to level the wet concrete, removing excess and filling in any low areas. You'll need to work the screed board back and forth across the surface, ensuring you get an even finish.
Next is the use of a bull float. This tool, with its large, flat surface, is great for smoothing out any imperfections left by screeding. You'll have to move the float in a sweeping motion across the wet concrete, effectively pushing down the aggregate and bringing the smooth paste to the surface.
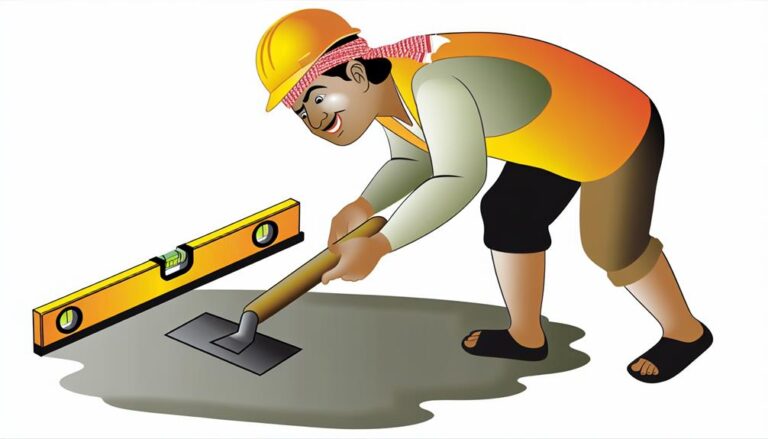
The troweling technique comes in handy for an ultra-smooth finish. It requires you to work a hand trowel in small circles over the concrete, applying consistent pressure to compact the surface.
Frequently Asked Questions
What Types of Concrete Are Best Suited for DIY Leveling Projects?
You're asking about the types of concrete best suited for DIY leveling projects.
You'd typically want to use a self-leveling concrete for these types of tasks. It's a type of concrete that's designed to flow and spread out evenly, making it ideal for leveling uneven surfaces.
This type of concrete doesn't require much work or skill to apply, so it's perfect for DIY projects.
Is It Possible to Perform DIY Concrete Leveling in Any Type of Weather or Are There Specific Conditions to Consider?
Sure, you can carry out DIY concrete leveling in various weather conditions. However, certain circumstances should be considered. Dry, mild weather is your best bet.
It's not advisable to work when it's too hot or cold, as extreme temperatures may affect the curing process. Also, avoid rainy days, as water can dilute the mix, making it less effective.
How Long Does It Typically Take for the Leveled Concrete to Fully Set and Dry?
You're wondering about the drying time for leveled concrete. Usually, it takes around 24 to 48 hours for it to set. However, it's not fully dry at this point.
It can take up to a month for it to completely cure. Remember, these times can vary based on factors like temperature, humidity, and the mix used.
It's crucial to give it ample time to dry to ensure its strength and durability.
What Safety Precautions Should Be Taken When Performing DIY Concrete Leveling?
When you're tackling DIY concrete leveling, safety is key.
Always wear protective gear, like gloves, goggles, and sturdy footwear. You'll be handling heavy materials, so use proper lifting techniques to avoid strain.
Also, make certain the area is well-ventilated if using chemicals. Don't forget to keep children and pets away from the work area.
Lastly, if you're unsure about anything, don't hesitate to consult a professional. Safety should never be compromised.
Are There Any Specific Maintenance or Aftercare Recommendations for Leveled Concrete?
Just like a well-cooked dish, your newly leveled concrete needs aftercare. Keep it clean from stains and debris. Regularly check for cracks or signs of wear. If you notice any, apply a concrete sealer.
It's like applying sunscreen to protect your skin from harmful UV rays. Remember, the key to longevity is maintenance. So, don't neglect your concrete! It's not just a surface, it's the foundation of your project.
Conclusion
In the world of DIY, concrete leveling can seem like climbing a mountain. But, with the right tools in hand and by mastering these top techniques, you're well on your way to reach the summit.
Remember, understanding is key; the more you know, the less daunting the task becomes. So strap on your work boots, wield your trowel, and let your concrete be as level as a calm sea on a windless day.
You've got this!