Why Opt for DIY Concrete Leveling Techniques?
Choosing DIY concrete leveling methods can save you cash and give you control over improving your space. These techniques fix uneven surfaces efficiently and cheaper than traditional replacement. It demands some essential tools and preparation but can lead to a well-leveled concrete floor. Plus, doing it yourself allows you to spot and correct minor imperfections that may not require full leveling. But remember, successful DIY leveling avoids common errors, like improper preparation or rushing the drying process. Ready to dive deeper? There's a wealth of knowledge waiting to make your concrete leveling project a triumph.
Understanding Concrete Leveling Basics
Diving into concrete leveling, it's crucial to grasp the basics to ensure your DIY project is a success. You're not just filling cracks or holes; you're essentially reshaping the surface to make it level and safe. But before you start, understand what you're dealing with.
Concrete leveling is a procedure that corrects uneven concrete surfaces by altering the foundation that the surface sits upon. It's a cheaper and more efficient method than traditional concrete replacement. Often, the cause of your problem lies beneath the concrete slab, in the underlying soil. So, you'll need to address that first.
You should know that not every uneven concrete surface needs leveling. Sometimes, simple repairs are enough. For instance, if your concrete has small cracks or chips, you can fill them up without leveling. But if the surface is uneven, causing water to pool or creating tripping hazards, then leveling is necessary.
You also need to consider the type of soil underneath your concrete. If it's unstable, it might need compacting before you can level the concrete. So, don't just dive in; understand the basics first to avoid creating further damage. With proper knowledge, you're ready to conquer concrete leveling yourself.
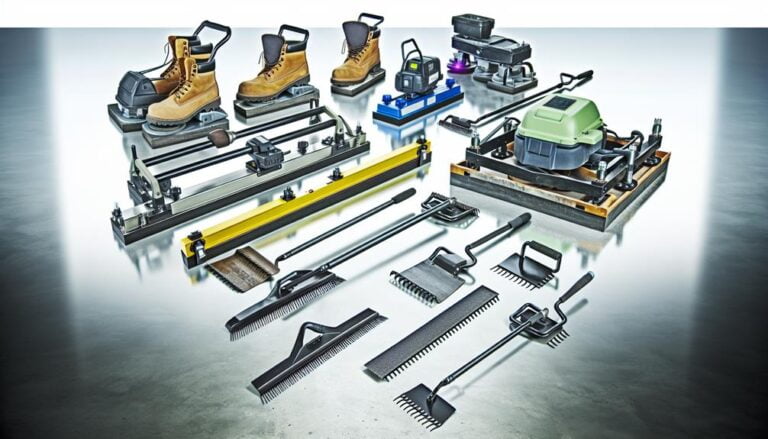
Essential Tools for DIY Concrete Leveling
Before you roll up your sleeves and start leveling your concrete, make sure you've got the right tools for the job. Without the essential tools, your DIY project could turn into a DIY disaster.
Firstly, you'll need a concrete leveling compound. It's a special mixture that's designed to fill in low spots and create a level surface. You can find it at most hardware stores.
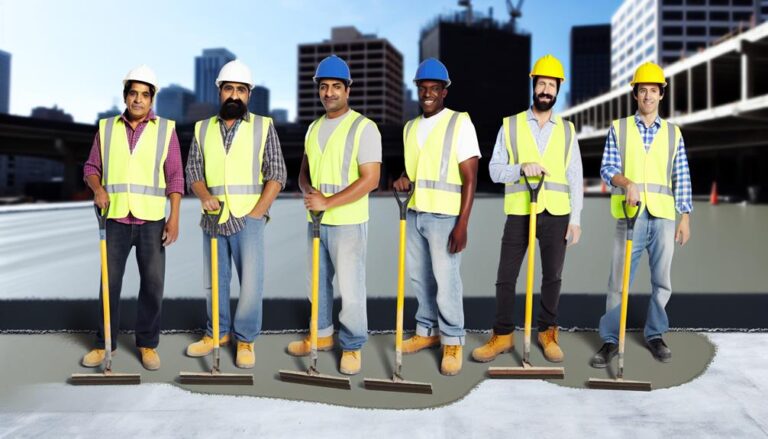
Secondly, a long-handled squeegee is a must. It's used to spread the leveling compound evenly across the surface of the concrete. You'll also need a concrete trowel to smooth out the compound and remove any excess.
An essential, yet often overlooked tool, is a good pair of knee pads. Concrete work can be tough on your knees, so it's important to protect them.
Lastly, a chalk line or laser level is crucial. It'll help you identify the low spots that need filling and ensure you're creating a level surface.
Preparing Your Concrete for Leveling
Once you've gathered all your essential tools, it's time to prepare the concrete surface for leveling. The surface must be clean, dry, and free of any debris that might hinder the leveling process. So, roll up your sleeves and let's get started.
Firstly, sweep the concrete surface to remove any loose debris. This step is crucial as it ensures that the leveling compound adheres properly to the concrete. You might want to use a power washer for a more thorough cleaning.
Next, inspect the concrete for any cracks or holes. These imperfections need to be addressed before leveling. You can use a concrete repair mix to fill in these gaps. Make sure it's completely dry before moving on.
Lastly, moisten the concrete surface lightly. This step prevents the concrete from absorbing water from the leveling compound too quickly, which can cause it to crack.
Preparing your concrete surface for leveling might seem like a tedious task, but it's a crucial step in ensuring that your DIY project is successful. So, don't skip any steps, and remember, a well-prepared surface is the foundation of a perfectly leveled concrete floor.
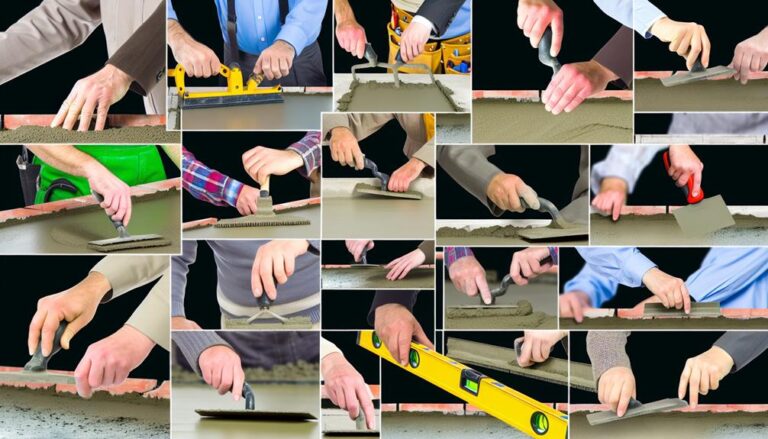
Step-by-Step DIY Concrete Leveling Guide
Let's jump right into the step-by-step guide to DIY concrete leveling. First, ensure your safety gear is on, including gloves, goggles, and a dust mask. Next, mix the concrete leveler following the manufacturer's instructions. It's crucial to get the ratio right, so don't rush this step.
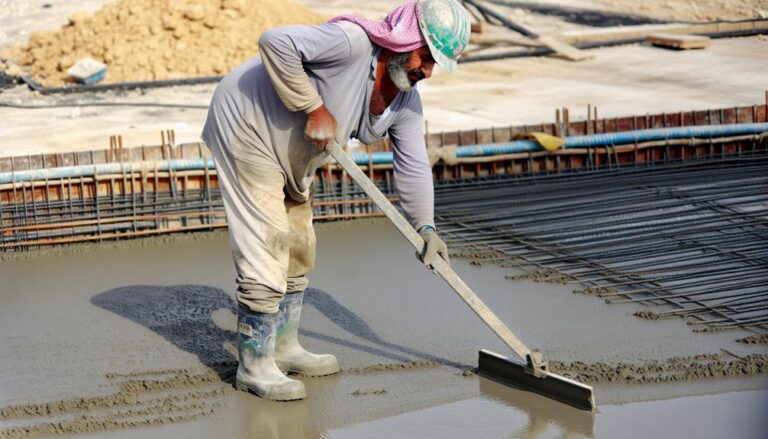
Once your mix is ready, slowly pour it onto the uneven concrete surface. Start from one end and work your way to the other, ensuring that the mix covers all low spots. Use a long-handled squeegee to spread the leveler evenly across the surface. The squeegee's flexible blade makes it ideal for this task.
After spreading, let the leveler settle for a few minutes. Then, smooth the surface with a concrete float. The float helps to compact the leveler and removes excess, ensuring a flat, even surface.
Finally, allow the leveled concrete to cure. This process can take several hours to days, depending on the product and weather conditions. It's vital to keep the surface free from foot traffic and any pressure until it's completely cured.
And there you have it! You've successfully leveled your concrete using DIY techniques. Just remember, practice makes perfect.
Common Mistakes in DIY Concrete Leveling
While mastering DIY concrete leveling can be rewarding, it's easy to make a few common mistakes if you're not careful.
One major misstep you might make isn't properly preparing the surface. If you don't clean the area thoroughly, it can lead to an uneven finish or even cause the new concrete to not bond correctly with the existing surface. Don't overlook this crucial first step.
Another common error is mixing your concrete improperly. It's not just about combining water and concrete mix. You've got to get the consistency just right. Too thin and it won't hold its shape; too thick and it'll be hard to spread.
You might also fall into the trap of not using the right tools. Trowels and leveling tools are essential for a smooth, even surface. Using any old piece of wood or metal you find lying around isn't going to give you the results you want.
Finally, you might rush the drying process. Concrete needs time to cure to reach its full strength and stability. If you don't let it dry completely before putting it to use, you're setting yourself up for failure.
Avoid these pitfalls and your DIY concrete leveling job can be a success.
Maintaining Leveled Concrete Surfaces
Regular maintenance of your leveled concrete surfaces can significantly extend their lifespan and keep them looking their best. It doesn't have to be a daunting task, and with a little know-how, you can easily maintain your concrete surfaces.
Here are four simple steps for you to follow:
- Regular Cleaning: Dirt, dust, and debris can cause wear and tear. Use a broom or a power washer to regularly clean your concrete surfaces. This is the easiest way to prevent damage and maintain its appearance.
- Seal the Surface: Sealants protect your concrete from water damage and harsh weather conditions. You should reseal your concrete every two to three years.
- Repair Cracks Promptly: Don't ignore small cracks. Repair them as soon as possible to prevent them from spreading and causing more damage. Many DIY concrete repair kits are available in the market for this purpose.
- Avoid Heavy Loads: Excessive weight can cause your concrete to crack. Try to distribute weight evenly and avoid placing heavy objects on your concrete surfaces.
Frequently Asked Questions
What Are the Potential Cost Savings of DIY Concrete Leveling Compared to Hiring a Professional?
You're considering DIY concrete leveling to potentially save money. By doing it yourself, you're cutting out labor costs which can be quite hefty. Moreover, you're only paying for materials, some of which you might already have.
However, remember, there's a learning curve and if mistakes are made, it could cost more to fix. So, while DIY concrete leveling can save you money, ensure you're comfortable with the process to avoid any costly missteps.
How Long Does a DIY Concrete Leveling Project Typically Take to Complete?
The time it takes to complete a DIY concrete leveling project can vary. It's influenced by the size of the area you're leveling, your skill level, and the specific technique you're using. Typically, you can expect to spend a few hours to a whole day on this task.
What Are Potential Safety Concerns to Be Aware of When Undertaking a DIY Concrete Leveling Project?
When tackling a DIY concrete leveling project, safety concerns can come at you faster than a jackhammer. You've got to be mindful of potential risks like improper use of tools, exposure to harmful dust, and physical strain.
Don't forget about the risk of an uneven finish if you're not careful. Always wear protective gear, take frequent breaks, and ensure you're following the instructions to the letter. It's not a race, so take your time.
Are There Any Specific Weather Conditions That Are Optimal for DIY Concrete Leveling?
Sure, there are optimal weather conditions for performing DIY concrete leveling. It's best to work on a dry, mild day. Avoid extreme temperatures. Too hot and the mix dries too quickly; too cold and it may not set properly. Rain can also cause issues, so check the forecast.
The concrete needs time to cure, so ensure no severe weather is expected for several days after your project. It's all about timing.
Can DIY Concrete Leveling Be Done on Large Scale Projects Such as Driveways and Patios?
Sure, you can tackle large scale DIY concrete leveling projects like driveways and patios. It's not like you're constructing the Great Wall of China!
You'll need patience, the right tools, and a solid understanding of the process. But remember, it's crucial to ensure the ground's properly prepared and the concrete's mixed correctly.
If you're confident in your skills, go ahead. If not, maybe it's best to leave it to the pros.
Conclusion
So, you've tackled the beast of DIY concrete leveling. Armed with the right tools and know-how, you've transformed a tricky task into a doable project.
Remember, the proof of the pudding is in the eating – it's all about maintaining that leveled surface now. Avoid common errors and your concrete will be as good as new.
Because, at the end of the day, there's nothing quite like the satisfaction of a job well done, right?