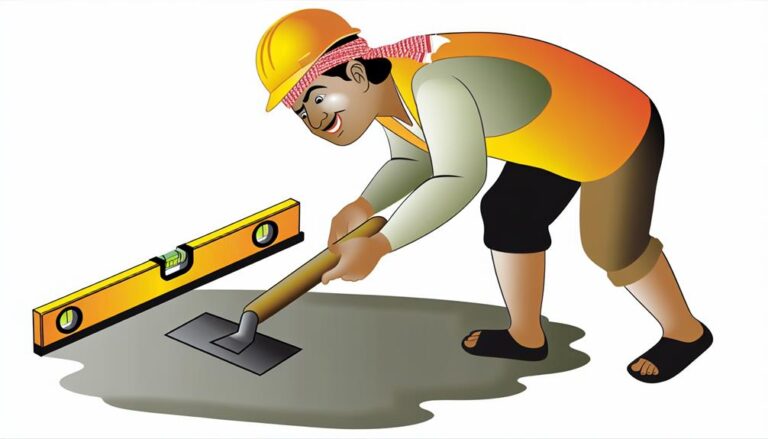
Top 10 DIY Concrete Leveling Techniques Unveiled
Master DIY concrete leveling with these top 10 techniques: 1) Use gravity-assisted leveling for small areas. 2) Try screeding to achieve smooth surfaces. 3) Use a trowel-based technique for precision. 4) Apply a self-leveling compound for larger projects. 5) Use a concrete grinder for challenging surfaces. 6) Try slabjacking for large areas. Techniques 7 to 10 comprise of alternatives like mudjacking and maintenance tips for your newly leveled surface. Remember, practice makes perfect and safety is paramount. Start experimenting and you'll see improvement in no time. Venture further and you'll find detailed techniques to subtly transform your space.
Understanding Concrete Leveling Basics
Grasping the fundamentals of concrete leveling can considerably enhance your DIY skills, saving you both time and money in the long run. Understanding the basics doesn't mean you'll become an overnight expert, but it's a crucial first step.
At its core, concrete leveling is the process of correcting an uneven concrete surface by altering the foundation it sits on. It's often used for sidewalks or driveways that have become uneven over time due to varying reasons such as soil erosion or settlement.
You'll encounter two main techniques: slabjacking and hydraulic jacking (also known as piering). Slabjacking involves pumping a mixture beneath the concrete to lift it to the desired level. On the other hand, piering requires the use of hydraulic jacks to raise the concrete after steel support piers have been installed into deeper, more stable soil.
It's essential to know which method suits your project best. Consider factors like the kind of surface you're dealing with, the severity of the unevenness, and the cost-effectiveness of each method. Remember, it's not just about leveling the concrete, but ensuring it stays level for the long haul.
Preparing for Your DIY Leveling Project
Before you dive into your concrete leveling project, it's crucial to prepare adequately to ensure a smooth and successful process. This preparation involves more than just buying the necessary materials and tools. It's about understanding the job fully and making sure you're up to the task.
Firstly, assess the area to be leveled. Check for any cracks or damage, and make sure to repair these before proceeding. This will provide a solid base for your leveling work. You'll also need to measure the area accurately to know how much leveling compound you'll need. Don't forget to factor in drying time for any repairs and the leveling compound itself.
Next, gather your tools and materials. A trowel, a long level, and a bucket are basics. Your chosen leveling compound will come next. It's worth investing in a high-quality product to ensure a good finish.
Lastly, ensure you're working safely. Wear protective clothing, including safety glasses and gloves. Keep children and pets away from the work area. And remember, concrete leveling is a messy job, so protect the surrounding area with plastic sheets.
With the right preparation, you're ready to start leveling. The next step? Learning the first technique: Gravity-Assisted Leveling.
Technique 1: Gravity-Assisted Leveling
Often, gravity-assisted leveling is your go-to technique for small to medium-sized concrete areas due to its simplicity and effectiveness. You simply pour the concrete mix and let gravity do its work to level the mixture. It's straightforward, cost-effective, and doesn't require fancy tools or equipment.
That said, it's not foolproof. You need to monitor the process closely, making minor adjustments as required. But don't worry, you'll get the hang of it with a little practice.
To help you understand its benefits and drawbacks, here's a simple table:
| Aspect | Advantage | Disadvantage |
|---|---|---|
| Cost | Low | None |
| Ease of Use | High | Requires practice |
| Time | Fast | Requires monitoring |
| Precision | Moderate | Not ideal for large areas |
| Versatility | Good for small to medium areas | Not suitable for complex shapes |
Technique 2: Screeding for Smoother Surfaces
When you're aiming for a smooth, seamless finish on your concrete surface, screeding is your best bet. This technique involves using a flat board, or a screed, to smooth out the wet concrete after it's been poured.
You'll start by placing the screed atop the formwork at one end, then dragging it along the surface in a sawing motion. This action cuts off excess concrete and fills in low spots, ensuring an even, level surface. You'll want to keep a firm grip on your screed, applying just enough pressure to smooth the surface without pushing too much concrete away.
Remember, screeding isn't about applying force, but rather about precision and patience. It's a balancing act of applying the right amount of pressure and moving at the right speed. Move too fast, and you'll leave behind an uneven surface; too slow, and the concrete might start setting before you're done.
You'll likely need to pass over the surface a few times to get it just right. But with practice, you'll find that screeding is a highly effective way to achieve a smooth, professional-looking finish on your DIY concrete project.
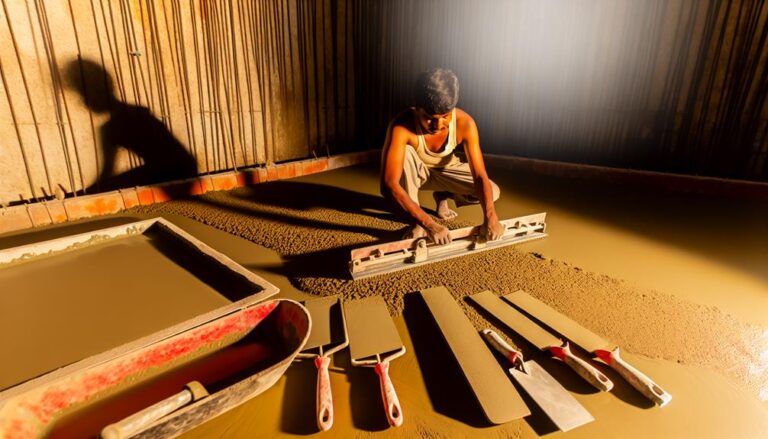
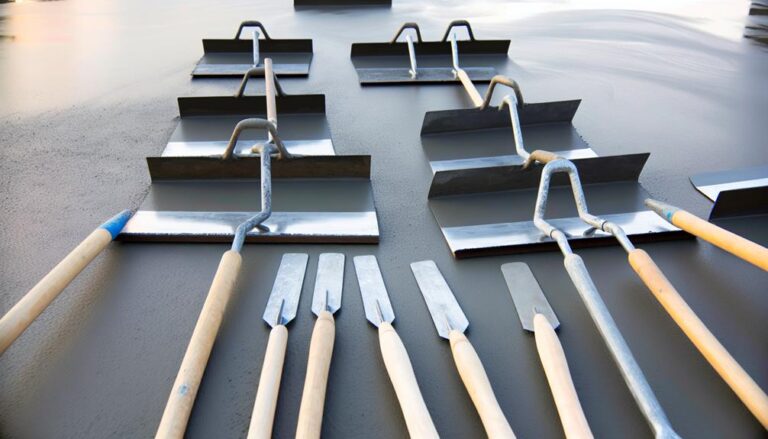
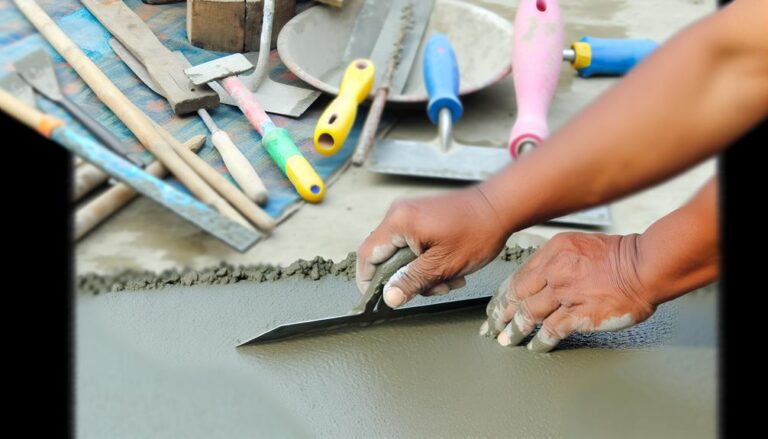
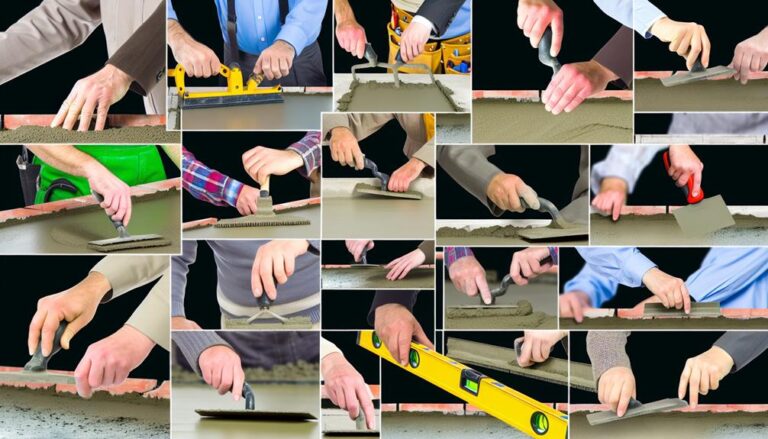
Technique 3: Trowel-Based Concrete Leveling
Diving into the realm of trowel-based concrete leveling, you'll find that this technique gives you direct control over the smoothness and finish of your concrete project. It's a method that's both traditional and effective, and it's absolutely within your reach as a DIY enthusiast.
This technique requires a flat-edged trowel, a tool that's easily available at any hardware store. Once you've poured your concrete, you'll use the trowel to spread it evenly across your project's surface. The trick here is to hold the trowel at an angle, using a sweeping motion to push the concrete into place. This isn't a one-and-done deal, though. It's a process that you'll repeat several times, working in small sections to ensure a level, smooth finish.
Trowel-based leveling isn't just about the surface, it also helps compact the concrete, eliminating air pockets that can weaken your project. This technique requires patience and practice; don't rush it. The more time you spend perfecting your troweling technique, the smoother and more durable your concrete will be. It's a hands-on method that can yield impressive results, adding a professional touch to your DIY concrete projects.
Technique 4: Self-Leveling Compound Application
While the trowel-based method offers a hands-on approach, you might find 'Technique 4: Self-Leveling Compound Application' a bit more user-friendly, especially for larger projects. This technique involves the use of a special mixture known as a self-leveling compound, which is designed to flow into low areas, creating a perfectly flat surface.
To start, you'll need to thoroughly clean your concrete area. Any debris or loose concrete can interfere with the leveling process. Once the area is clean, you'll mix the self-leveling compound according to the manufacturer's instructions. This generally involves adding water to the compound in a bucket and stirring until it's thoroughly combined.
Next, you'll pour the mixture onto your concrete surface. The self-leveling compound will naturally flow into the lower areas, leveling out the surface. You won't need to smooth or spread the compound, it does the work for you! Just make sure to pour enough compound to cover the entire area.
Technique 5: Concrete Grinder Utilization
For those tougher concrete leveling projects, you can turn to 'Technique 5: Concrete Grinder Utilization', an effective method that involves using a concrete grinder to smooth and level your surface. A concrete grinder works by using an abrasive tool to wear down high spots, creating a uniform surface. This technique is often used when the unevenness of your concrete isn't too severe.
Before you start, ensure you've got the right safety gear. Concrete grinding can produce a lot of dust, which can be harmful if inhaled.
Here's a simple guide to use this technique:
- *Firstly*, acquire a concrete grinder. You can rent one from your local hardware store.
- *Secondly*, start the grinder and move it across the surface in overlapping paths.
- *Thirdly*, repeat the process until you've reached the desired levelness.
- *Finally*, clean up the area and dispose of the concrete dust safely.
Remember, it's essential to take your time when using a concrete grinder. Rushing through the process could lead to an uneven surface, defeating the purpose of your project. If you're unsure, it's always best to consult a professional.
In our next segment, we'll talk about a method for larger areas: 'Technique 6: Slabjacking for Large Areas'.
Technique 6: Slabjacking for Large Areas
When tackling larger areas with uneven concrete, slabjacking becomes your go-to technique. With slabjacking, you're essentially pumping a grout mixture under the concrete slab to lift it back to its original position. As a DIY project, it's more complex than others but with the right tools, it can be done.
First, you'll need to drill holes into the concrete slab, spaced evenly apart. Don't be afraid to drill a few extra holes if the area is particularly large. You'll then prepare a mixture of sand, cement, and water – this is your grout. Using a hose, you'll pump this mixture into the holes until the slab rises to the desired level.
You've got to keep an eye on the slab as you're pumping. The grout needs time to spread underneath and lift the slab evenly. If you see one area rising too quickly, stop pumping and give the grout time to distribute.
Once the slab is level, you'll fill in the holes with concrete and allow it to dry. Slabjacking might be a bit more labor-intensive, but it's a foolproof method for leveling larger areas of concrete.
Technique 7: Mudjacking as an Alternative
If slabjacking seems too labor-intensive for your DIY project, mudjacking might just be the perfect alternative for leveling your concrete. This method involves injecting a mixture of water, soil, and cement into the spaces underneath the slab to raise it to the desired level. It's a less intensive process and could save you some sweat.
Here are some steps you'll need to follow:
- Prepare the mixture: You'll need a blend of topsoil, sand, and Portland cement. The proportions can vary based on your specific needs, but a 1:1:1 ratio is a good starting point.
- Drill holes in the slab: These will serve as injection points for the mud mixture. Make sure they're evenly spaced to ensure even lifting.
- Inject the mud: Use a mudjacking pump to inject the mixture into the holes. You'll see the slab start to lift.
- Seal the holes: Once the slab is leveled, fill the holes with concrete and smooth the surface.
Maintaining Your Leveled Concrete Surface
After successfully leveling your concrete surface, it's crucial to maintain its condition to prolong its lifespan. It's not just about the initial work; upkeep plays a significant role too. Here's how to do it.
Start off by keeping the surface clean. Regularly sweep away dirt and debris that could cause damage over time. For stubborn stains, you can use a power washer or a specialized concrete cleaner. Don't underestimate the simple act of cleaning; it's your first line of defense.
Secondly, reseal the surface every few years. Concrete is porous and can absorb water, leading to cracks and damage. A good quality sealer acts as a barrier, protecting your surface from water and weather elements. It's a preventive measure you shouldn't overlook.
Lastly, address minor damage promptly. If you spot a crack or chip, repair it immediately before it gets worse. Use a concrete patch mix for minor repairs. It's a small effort that can save you big problems in the future.
Frequently Asked Questions
What Safety Measures Should Be Taken While Leveling Concrete?
When leveling concrete, your safety is paramount. Always wear protective gear, such as gloves, safety glasses, and sturdy footwear. Be mindful not to overexert yourself, and use proper lifting techniques to avoid injury.
Keep your work area clean and free of tripping hazards. Make sure the concrete's not too wet or dry during application. Finally, ensure good ventilation if you're working indoors to prevent inhaling harmful concrete dust.
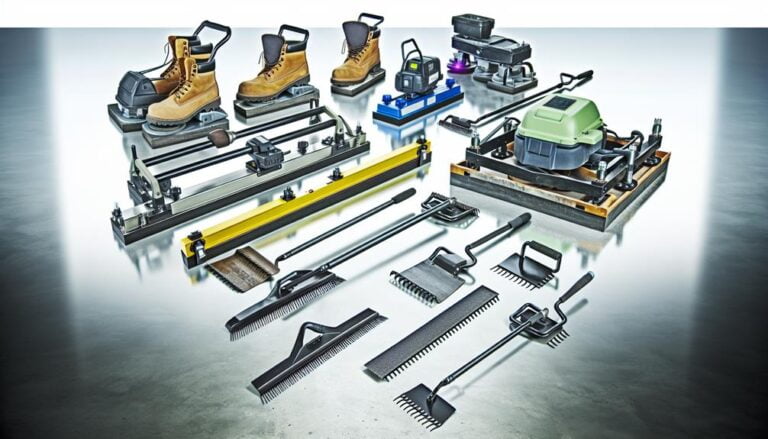
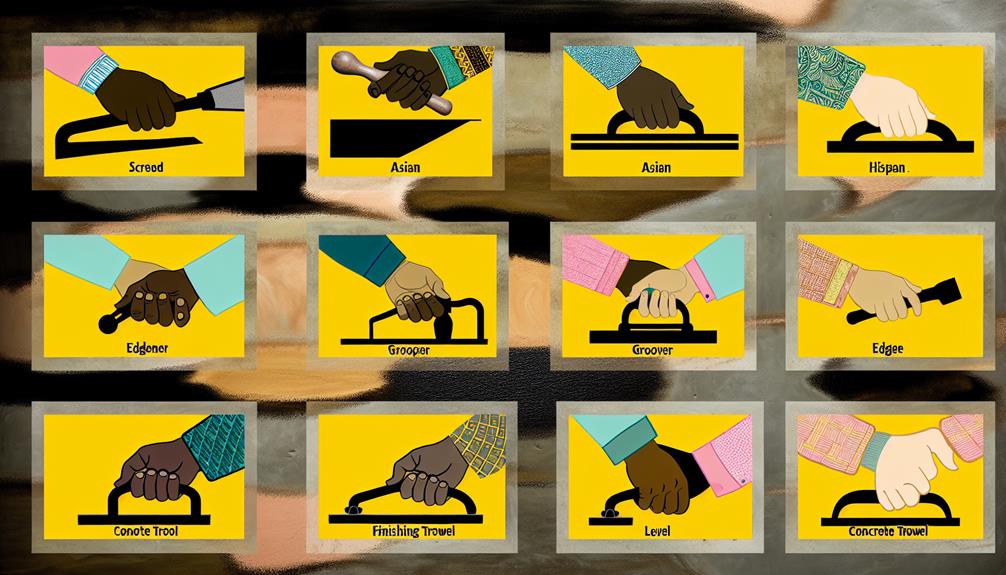
Are There Any Specific Tools or Equipment Needed for DIY Concrete Leveling That Are Not Commonly Found in a Home Tool Kit?
Yes, there are specific tools you'll need for DIY concrete leveling that you mightn't have in your common home toolkit. You'll need a long-handled squeegee to spread the concrete and a concrete float to smooth it out.
Additionally, a concrete groover is used to create control joints. These specialized tools may require a trip to your local hardware store.
Don't forget safety gear like gloves and goggles, too!
How Much Time Does It Take for the Concrete to Dry After Leveling?
You're wondering about the drying time after leveling concrete, right? Generally, it'll take 24 to 48 hours for the concrete to dry enough to walk on, but it's best to wait at least a week before driving on it.
Are There Any Environmental Conditions That Could Impact the Concrete Leveling Process?
Yes, environmental conditions can greatly impact your concrete leveling process. If it's too hot, the concrete can dry too quickly and crack. Extreme cold can slow down the curing process. Rain or high humidity can prevent the concrete from setting properly.
Can These DIY Concrete Leveling Techniques Be Used for All Types of Concrete Surfaces?
You're wondering if these DIY concrete leveling techniques can be used on all types of concrete surfaces. While they're generally versatile, some may not be suitable for every surface.
The type of concrete, its condition, and the specific leveling task can all affect their effectiveness. It's important to understand your concrete's needs and select the right technique.
Conclusion
You've now got a toolbox full of DIY concrete leveling techniques. From gravity-assisted leveling to mudjacking, there's a method for every project.
Remember, it's not a one-size-fits-all job – 60% of homeowners tweak their techniques based on the project's size and complexity.
Keep experimenting and maintaining your work to ensure a long-lasting, level surface. You've got this!